# Spring Cloud Alibaba Sidecar Example
## Project Instruction
This project demonstrates how to use `Nacos + Spring Cloud Alibaba Sidecar` to access heterogeneous language microservices.
[Spring Cloud Alibaba Sidecar](https://spring-cloud-alibaba-group.github.io/github-pages/hoxton/zh-cn/index.html#_spring_cloud_alibaba_sidecar) is a framework for fast and seamless integration of Spring Cloud with heterogeneous language microservices.
## Preparation
### Download and Startup Nacos
**You should startup Nacos Server before using Sidecar**
1. Download [Nacos](https://archive.apache.org/dist/rocketmq/4.3.2/rocketmq-all-4.3.2-bin-release.zip) and unzip it.
2. Startup Name Server
```bash
startup.cmd -m standalone
```
3. Sign in Nacos
Open you browser then input `localhost:8848/nacos` ,you can see the Nacos dashboard ui .
The default username and password are `nacos`
## Simple example
In this paper, Sidecar accesses a non-Java language service using Nacos as a registry as an example.
### Step1: Declare dependency
Add dependency spring-cloud-starter-alibaba-sidecar to the `pom.xml` file in your Sidecar project.
```xml
org.springframework.cloud
spring-cloud-starter-gateway
com.alibaba.cloud
spring-cloud-starter-alibaba-sidecar
com.alibaba.cloud
spring-cloud-starter-alibaba-nacos-discovery
```
### Step2: Configure sidecar
Then add necessary configurations to file `/src/main/resources/application.yml`.
```yaml
server:
port: 8070
spring:
cloud:
nacos:
username: nacos
password: nacos
discovery:
server-addr: 127.0.0.1:8848
group: test
gateway:
discovery:
locator:
enabled: true
application:
name: node-service
sidecar:
# heterogeneous service‘s ip
ip: 127.0.0.1
# heterogeneous service's port
port: 8060
# heterogeneous service's health check URL
health-check-url: http://localhost:8060/health.json
```
Note: `localhost:8060` here, is my local machine started a nginx proxy for this `health.json` request. In actual use it can be any REST service, just need to return the correct JSON format health detection data.
```json
{
"status": "DOWN"
}
```
### Step3: Start Application
After that, start the `Sidecar` service and the local heterogeneous service respectively.
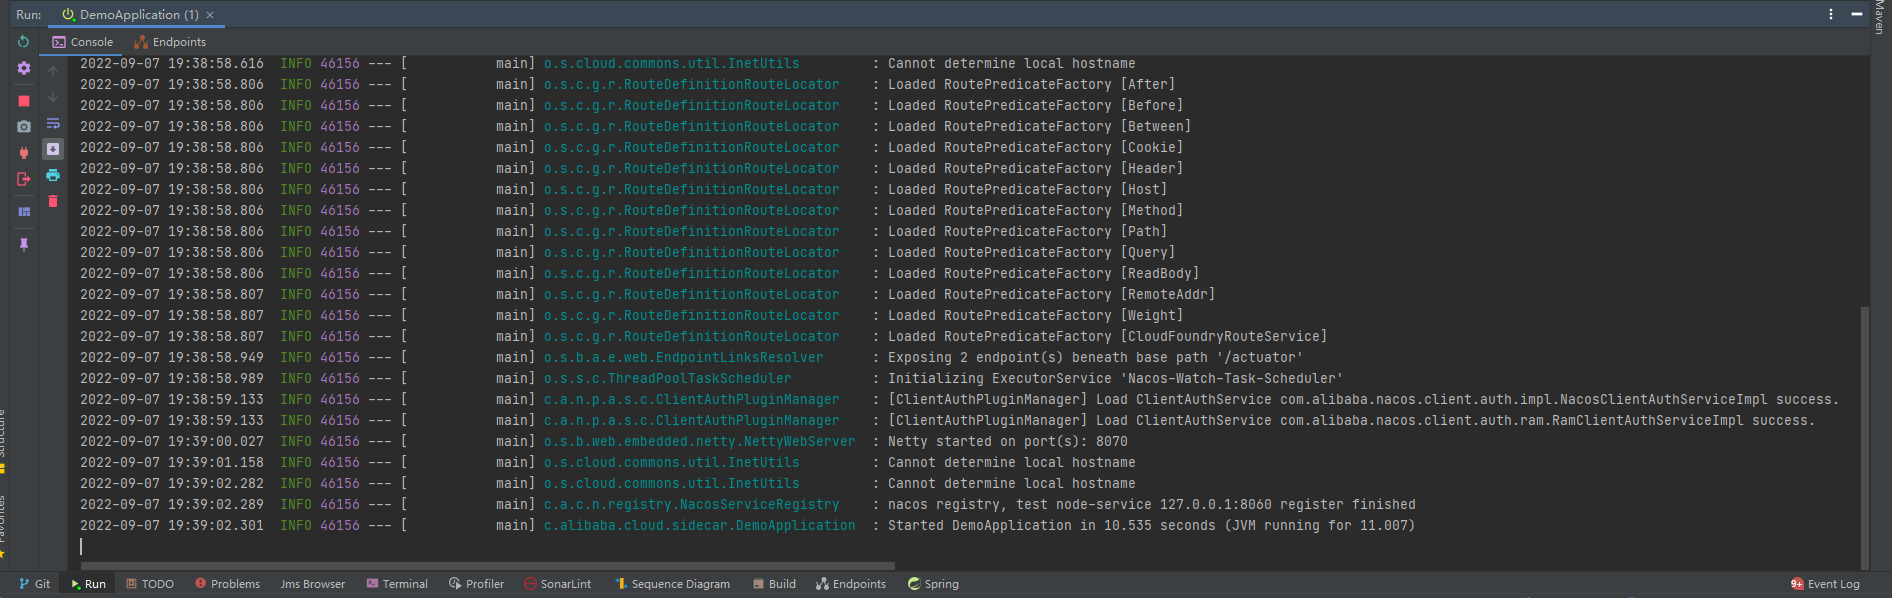
Start in IDE: Find main class `com.alibaba.cloud.sidecar.DemoApplication`, and execute the main method.
Note: This article takes the `spring-cloud-alibaba-sidecar-nacos-example` project as an example, so it starts the `DemoApplication` startup class under it.
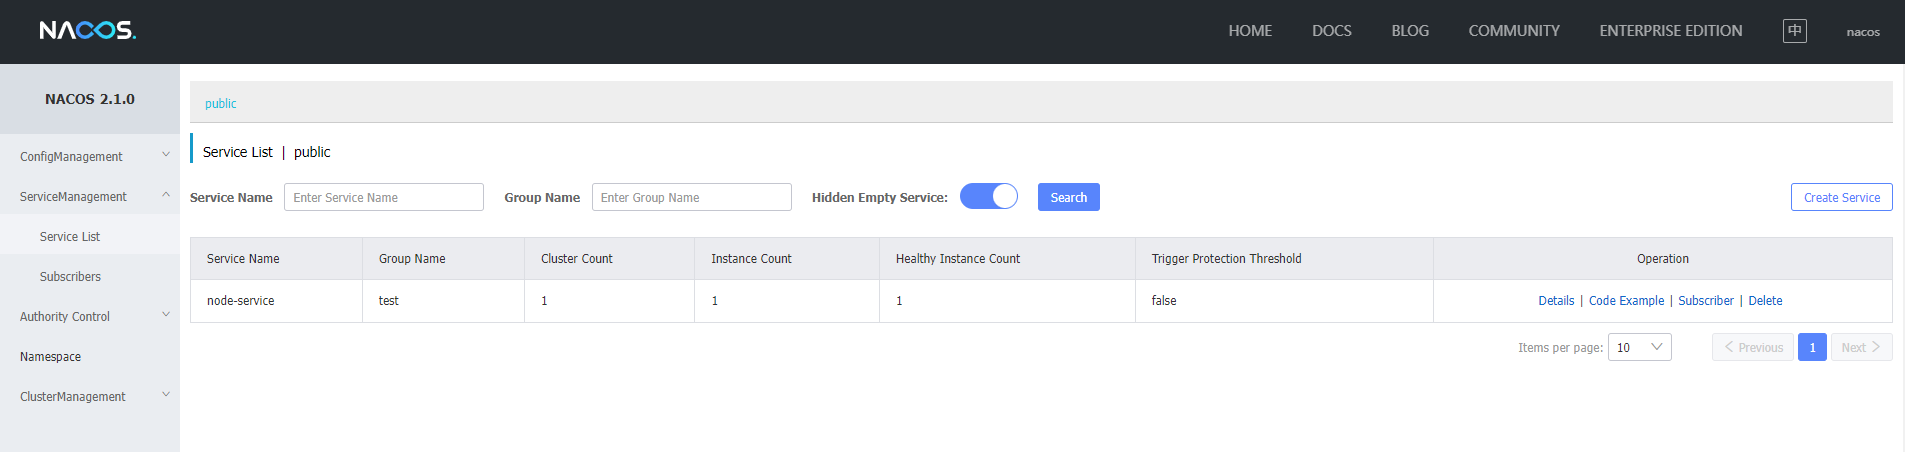
### Step4: View service registration
### Step4: Accessing services
After completing the above 4 steps, we find that the corresponding service `node-service` has been successfully registered to the registry. At this point, the service has been successfully integrated into the Spring Cloud microservice. For Spring Cloud microservices, accessing it is no different than accessing any other Java microservice.
This is where the beauty of Spring Cloud Alibaba Sidecar comes in. Next, we will continue to demonstrate how to access this service.
Browser Access below address:
http://127.0.0.1:8070/node-service/health.json
If you see the following message, the access was successful.

## More
If you have any ideas or suggestions for `Spring Cloud Alibaba Sidecar`, please don't hesitate to tell us by submitting github issues.